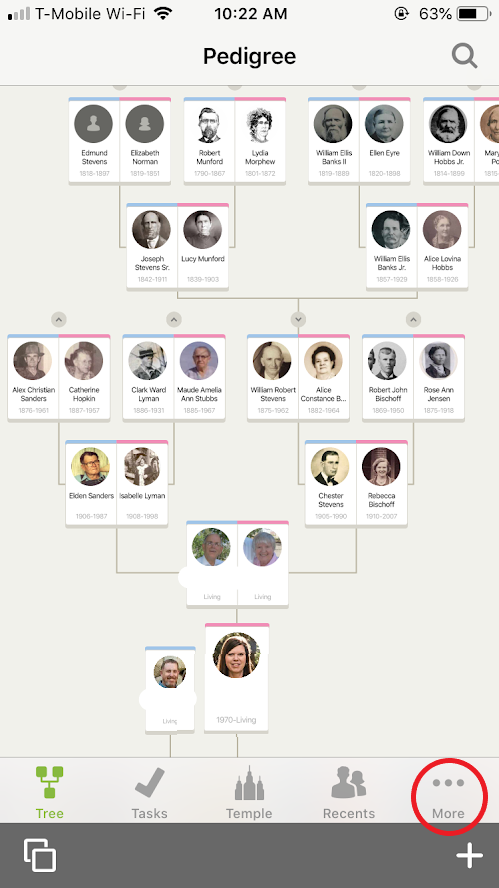
Last week I wrote about the features found on the Home Screen of FamilySearch’s Family Tree mobile app. Today I will focus on the options found under the “More” tab.
One thing you will want to do right away is tap on “Settings.” Enable all options to maximize the benefits of using the Family Tree app, then download a 6-generation pedigree for offline viewing. That way you can access your tree even when you aren’t connected to the internet.
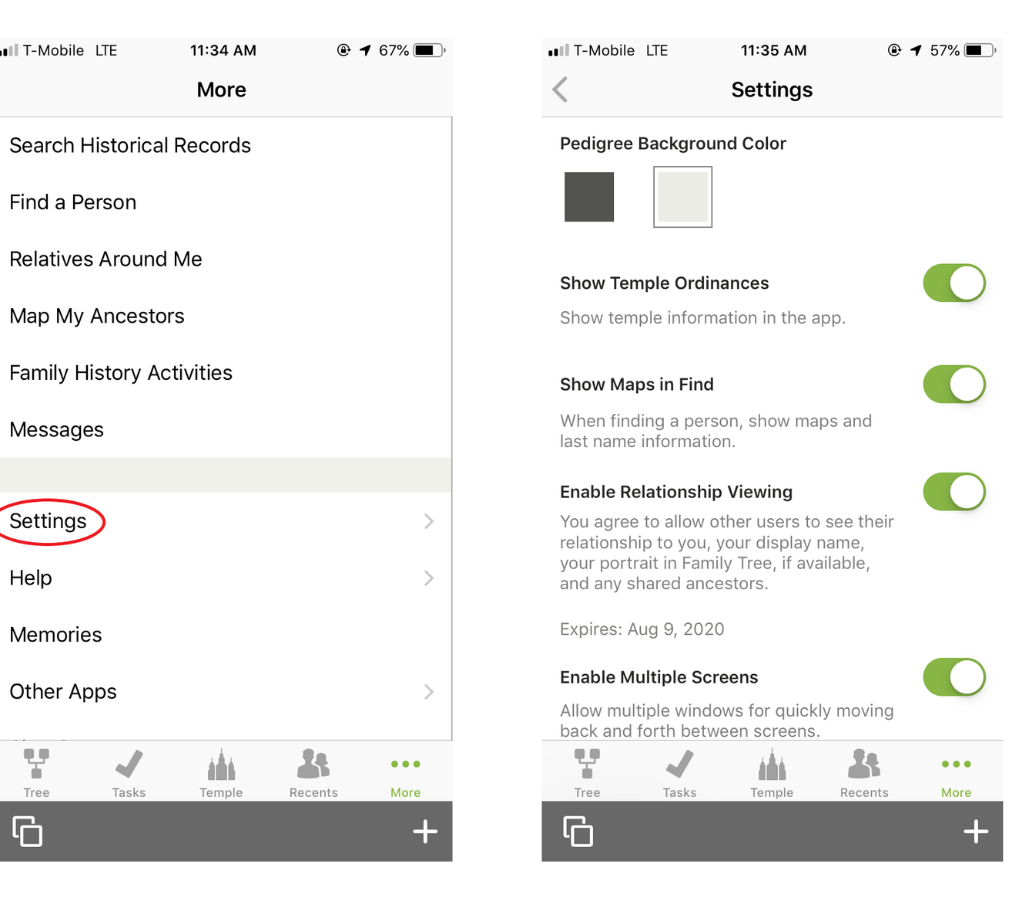
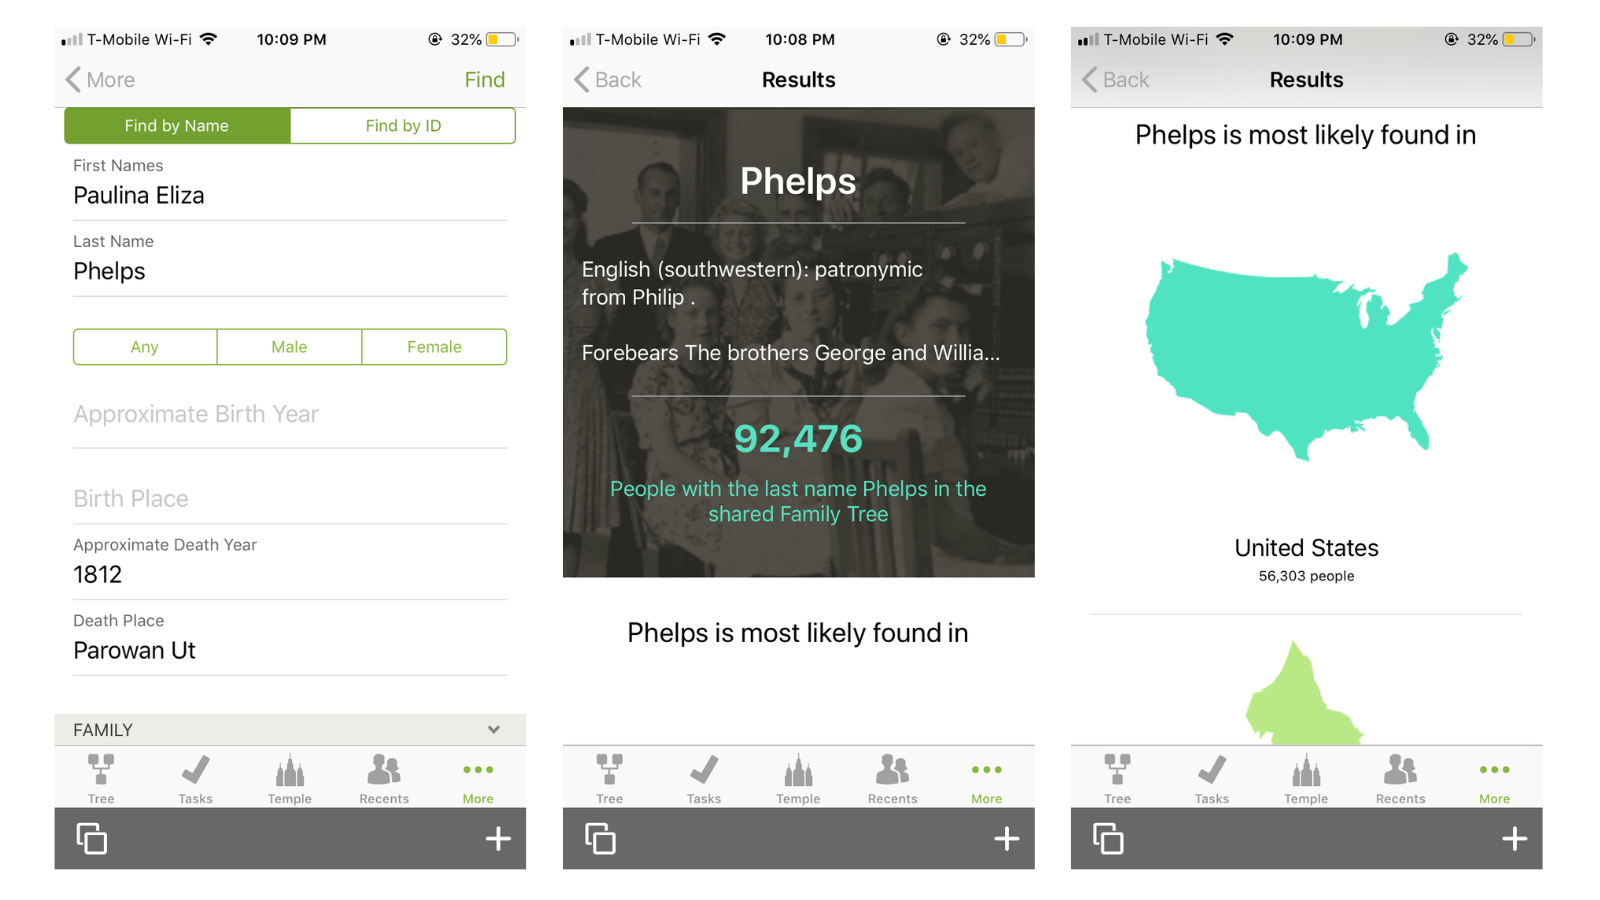
“Show Maps in Find” is fun – when you search for someone in the tree using the “Find” option, it will bring up surname information and maps of where that surname is most common.
“Enable Relationship Viewing” is a new feature. When you turn it on, you allow other users to click on your name (when they see you have attached a record or added a memory, etc.) and see their relationship to you, your display name and contact information, your portrait in Family Tree, and any shared ancestors. For more details on how to use this feature, read “See How You Are Related to Other Users—FamilySearch Update” from the FamilySearch blog.
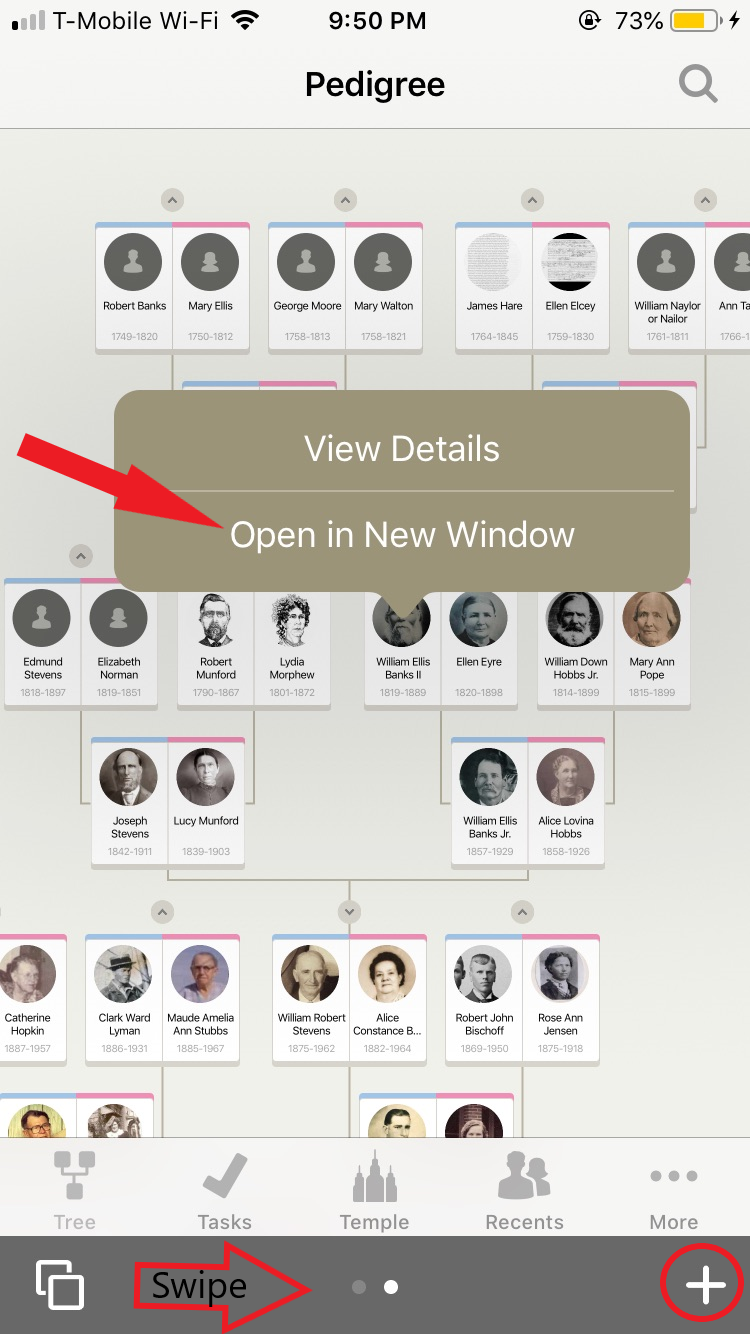
Enabling multiple screens will help when you begin to use the app for more in-depth research. This is like having multiple tabs or windows open on your computer at one time, and you can switch back and forth without losing your place. To add a screen, tap the “+” sign at the bottom right of your screen, OR simply press and hold down the link you want to open and choose “Open in New Window.” To toggle between windows, swipe the footer section of the app left or right. This feature adds functionality that is a game-changer for me!
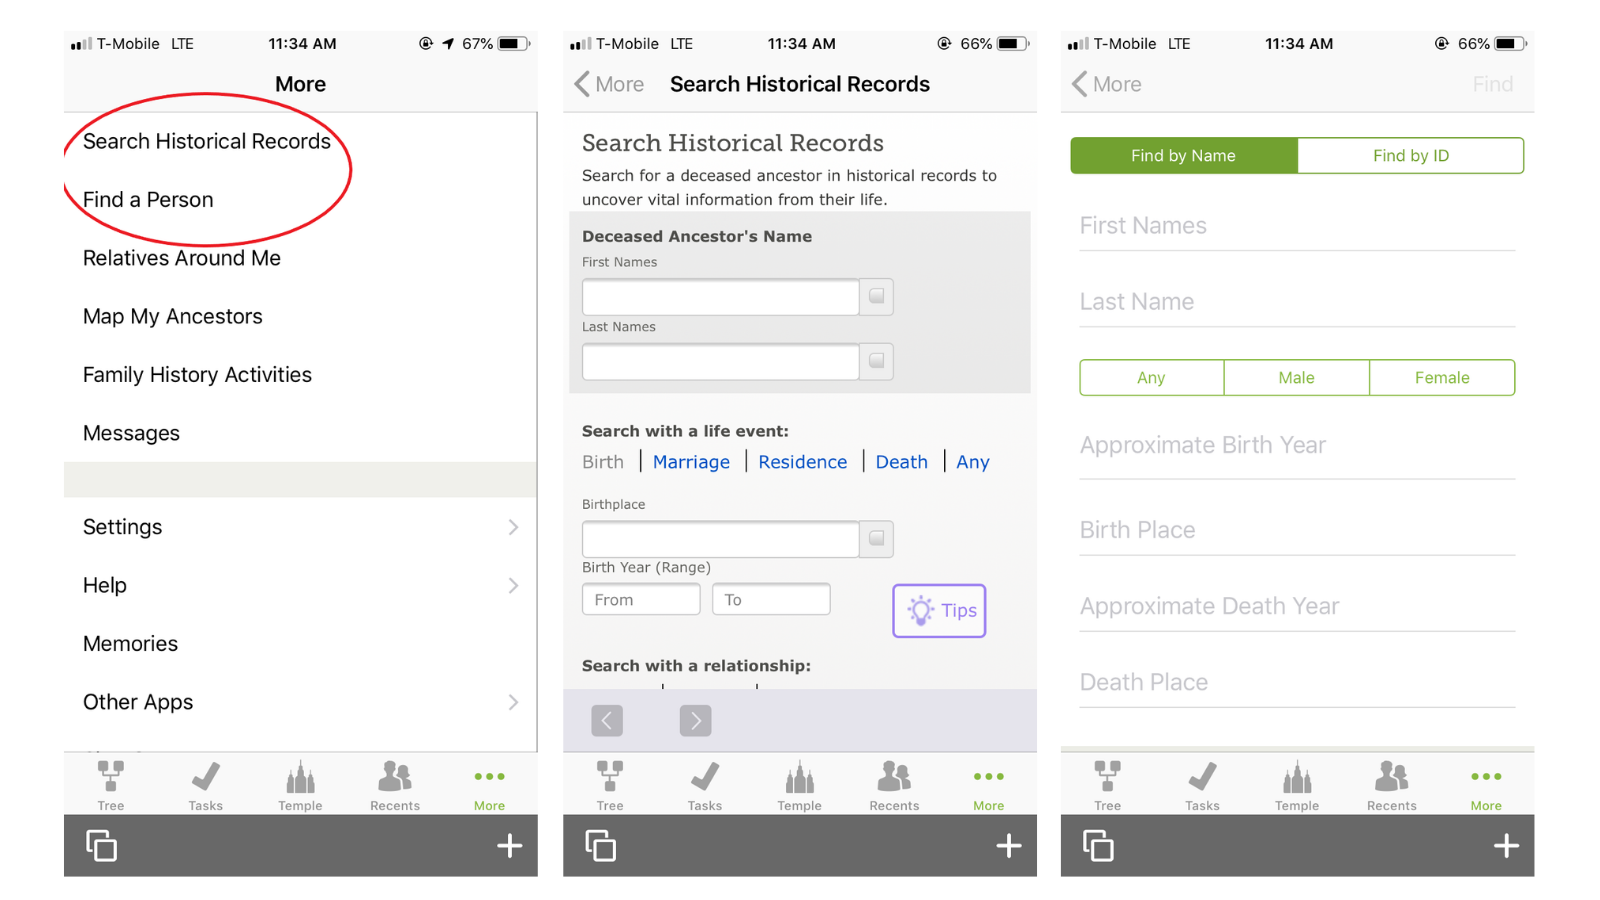
Once you have enabled all settings, go back and explore the other options under the More tab. First are the “Search Historical Records” and “Find” options. These function the same way they do when working in FamilySearch on your computer. One thing to remember is that when you “Search” you are searching to find historical records for the person you enter in the search fields. When you use “Find” you are searching the Family Tree to see if someone has already been added to the tree. I prefer to “Search” on my computer or directly from a Person’s page. I will discuss Person pages in detail in Part 3 of this series. “Find” is pretty straightforward and I do use it fairly regularly. You can “Find” by entering names, dates, and places, or you can “Find by ID.”
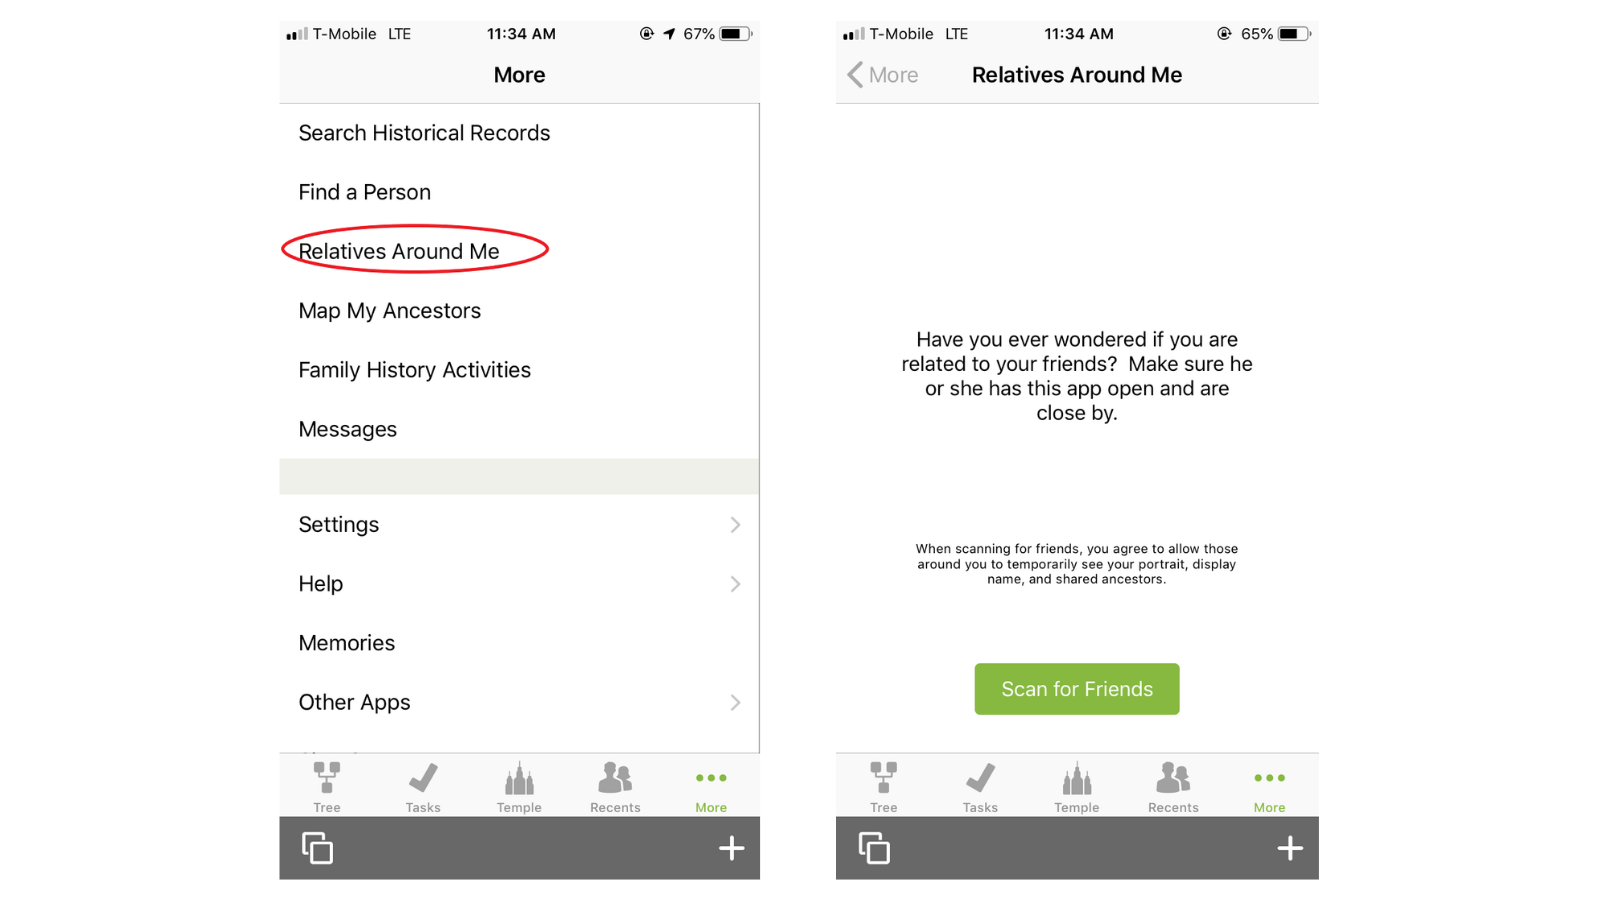
“Relatives Around Me” is a really fun discovery activity you can do with large groups of people, or when you are with a friend and you want to know if you are related. Tap this link, then push the green “Scan for Friends” button, and you will see how you are related to anyone that is within 100 feet of you that also logged into the app.
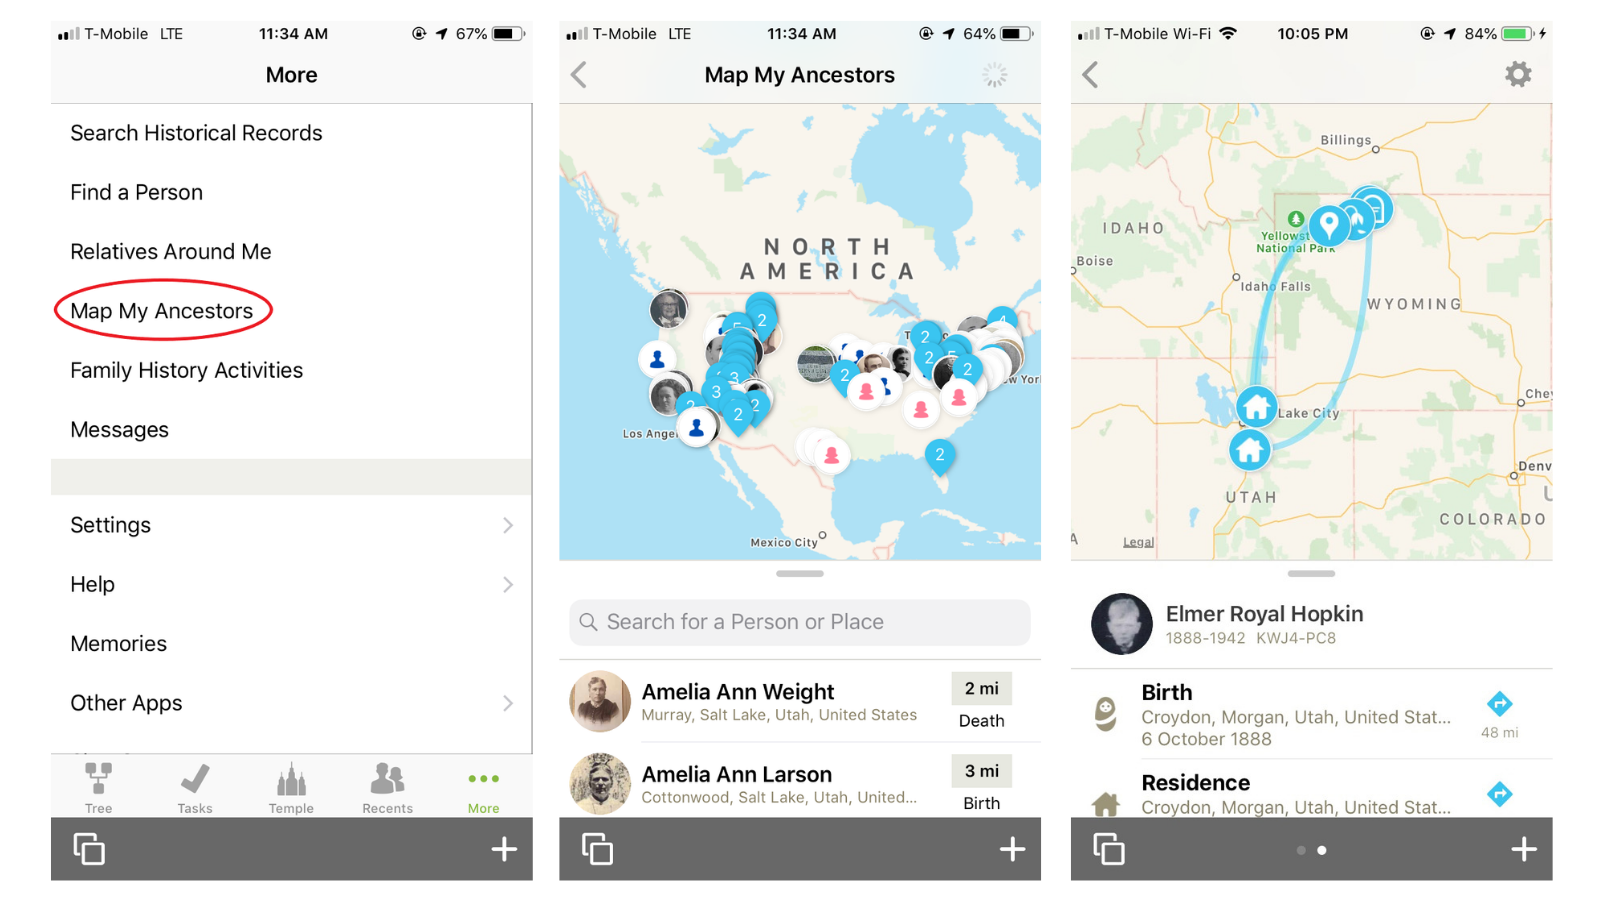
“Map My Ancestors” populates a map showing where life events of your ancestors occurred. You can zoom in on the map and select a person icon to generate a map just for that person. This is similar to the timeline feature on the desktop app. When you are traveling, it might be fun to zoom in on the area you will be visiting to see if any of your ancestors have life events that occurred in the area. To learn about another way I use FamilySearch maps and timelines, read my recent article “FamilySearch Timeline Features Help You Research Like a Pro.”
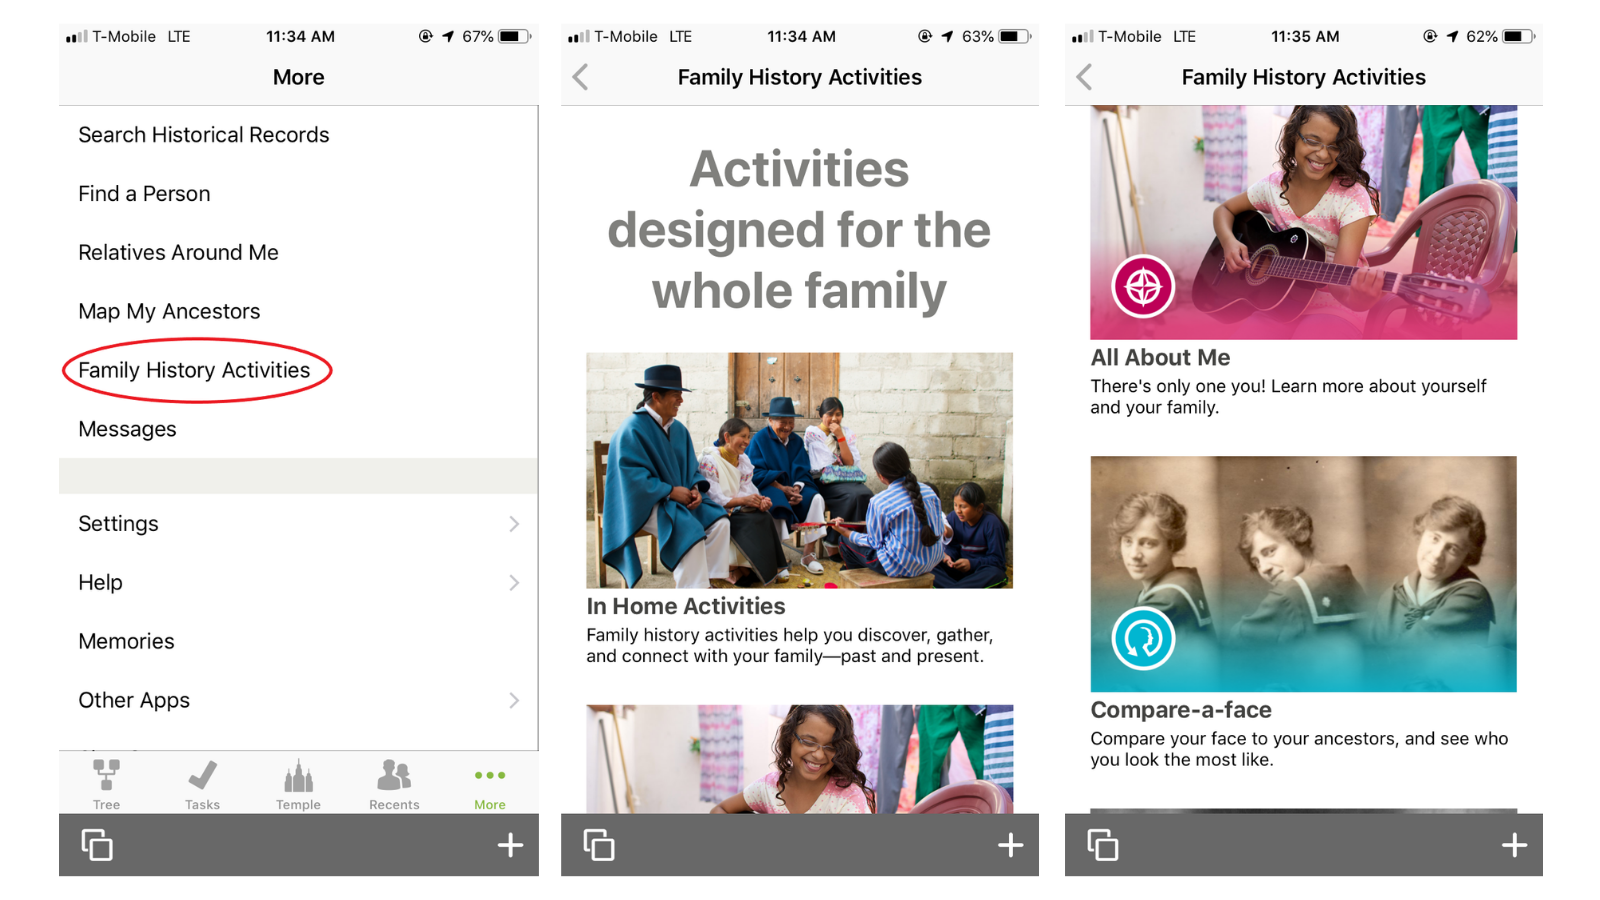
“Family History Activities” takes you to a page full of fun activities you and your family can do together. One of my favorite links is the “In-Home Activities” page that provides short and sweet activities that help kids learn more about their ancestors.
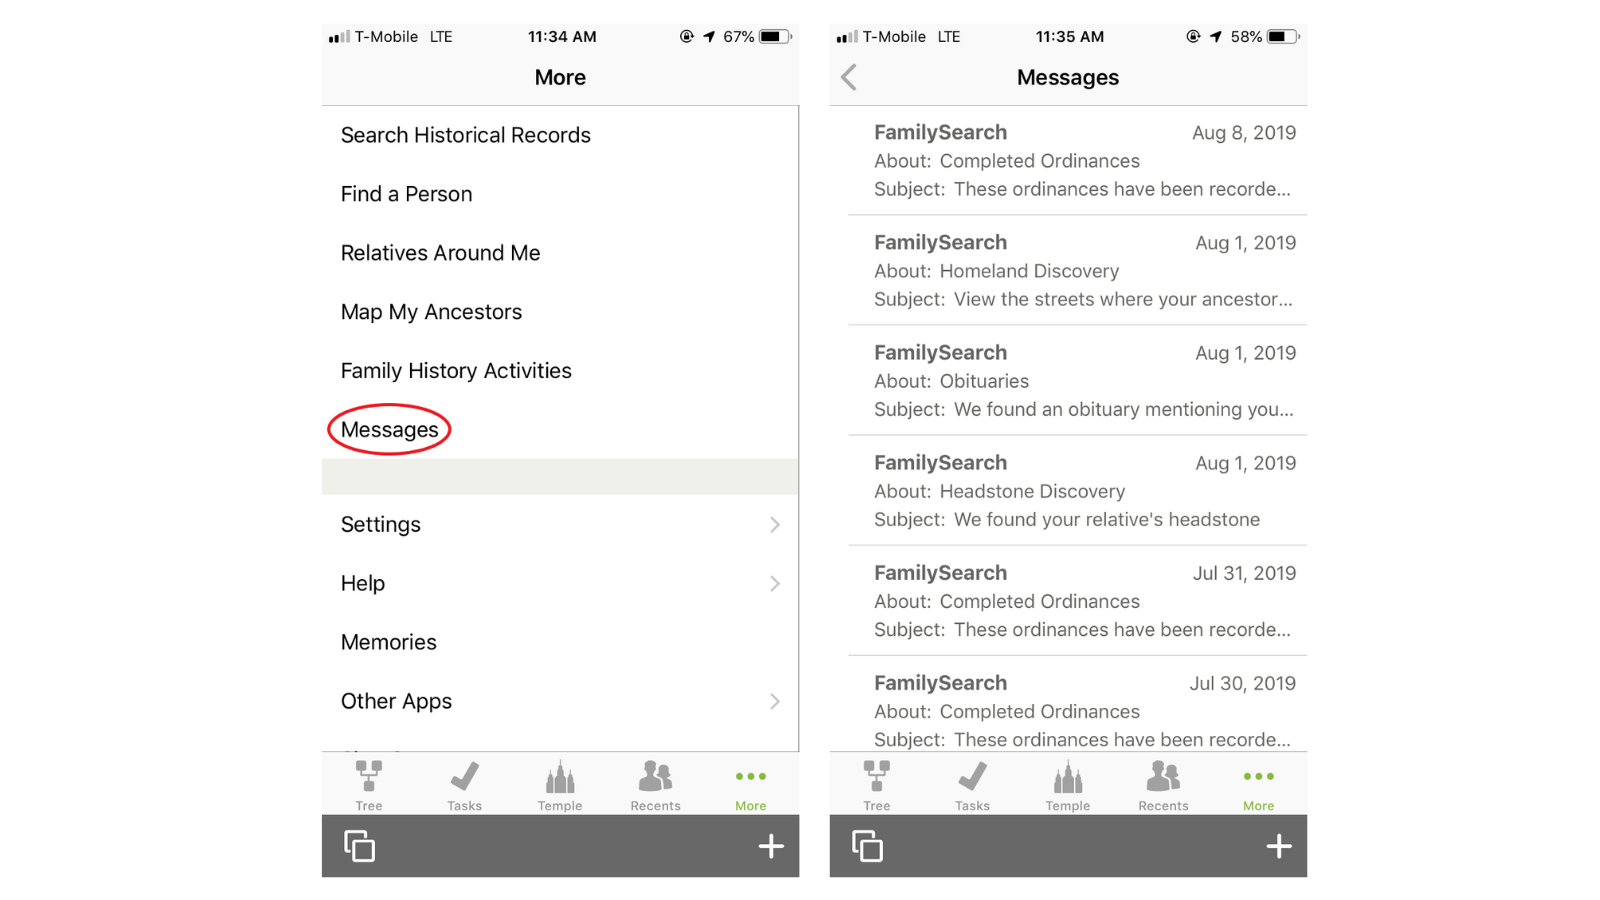
“Messages” are just what they sound like–a communication center where you will receive record hints and other messages from FamilySearch, messages when you complete temple ordinances, and messages from other FamilySearch users. If you have allowed alerts from the FamilyTree app on your phone, you will receive an alert whenever a new message arrives in your inbox.
“Help” takes you to all the Help options you see when you click “Help” on the desktop version. It also includes the “Help Someone” feature and the Consultant Planner under the “Helper Resources” tab.
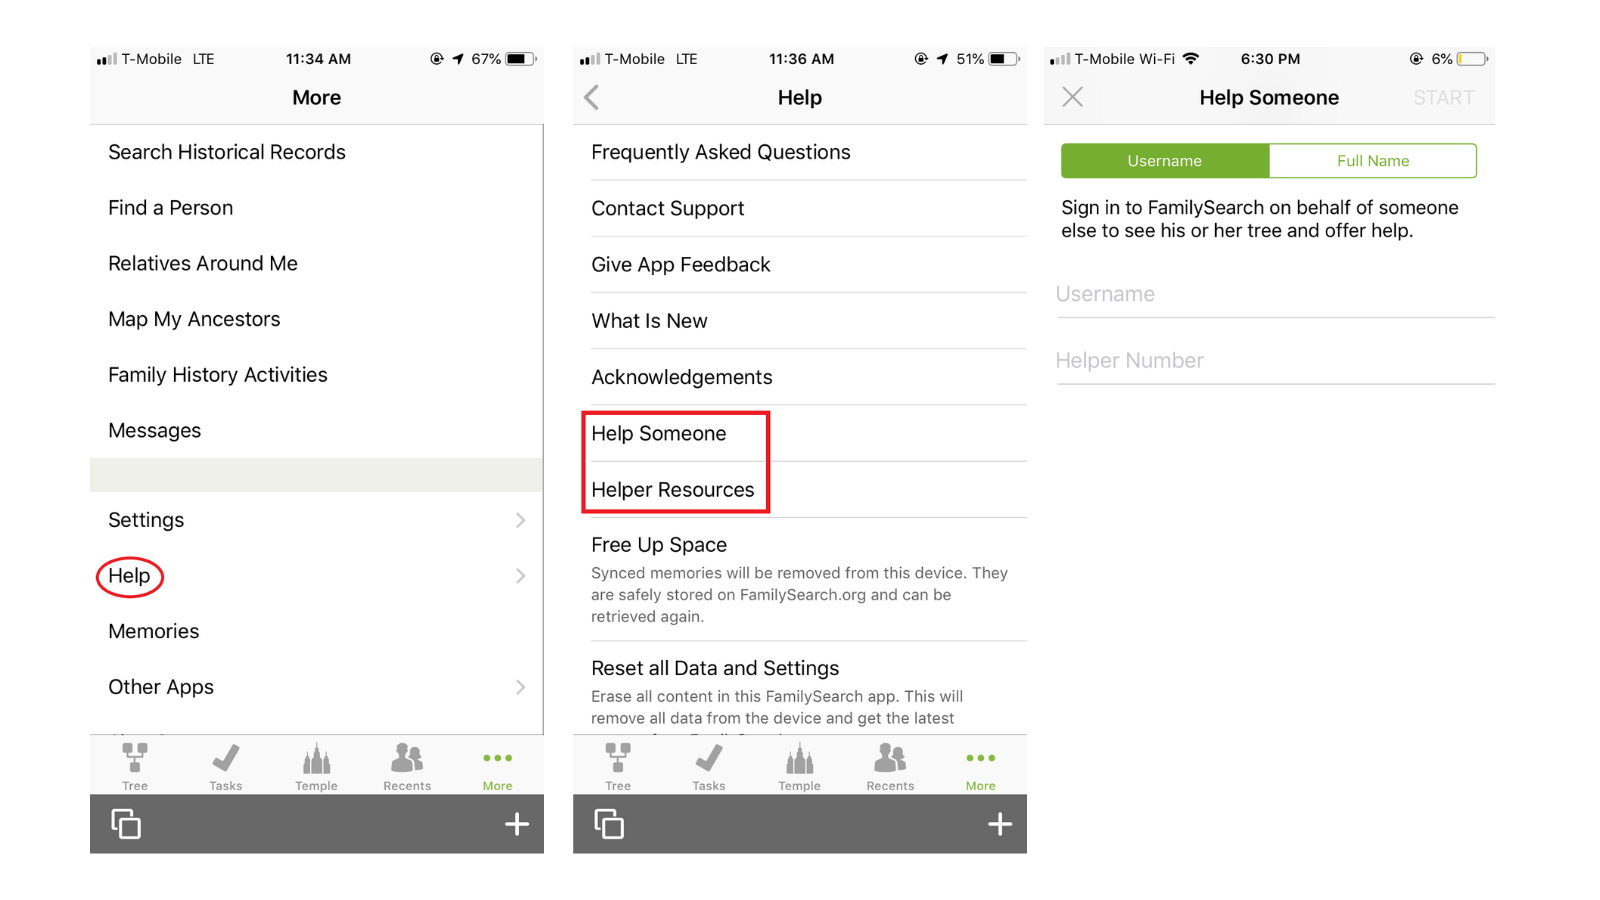
I love that these features are included in the app. I use them in my calling as a Temple and Family History Consultant. When I am talking with someone and they need help with their tree, I can add them to my planner there and then rather than having to remember to do it later. Read more about using the consultant planner here. It essentially works the same whether you use it in the app or online.
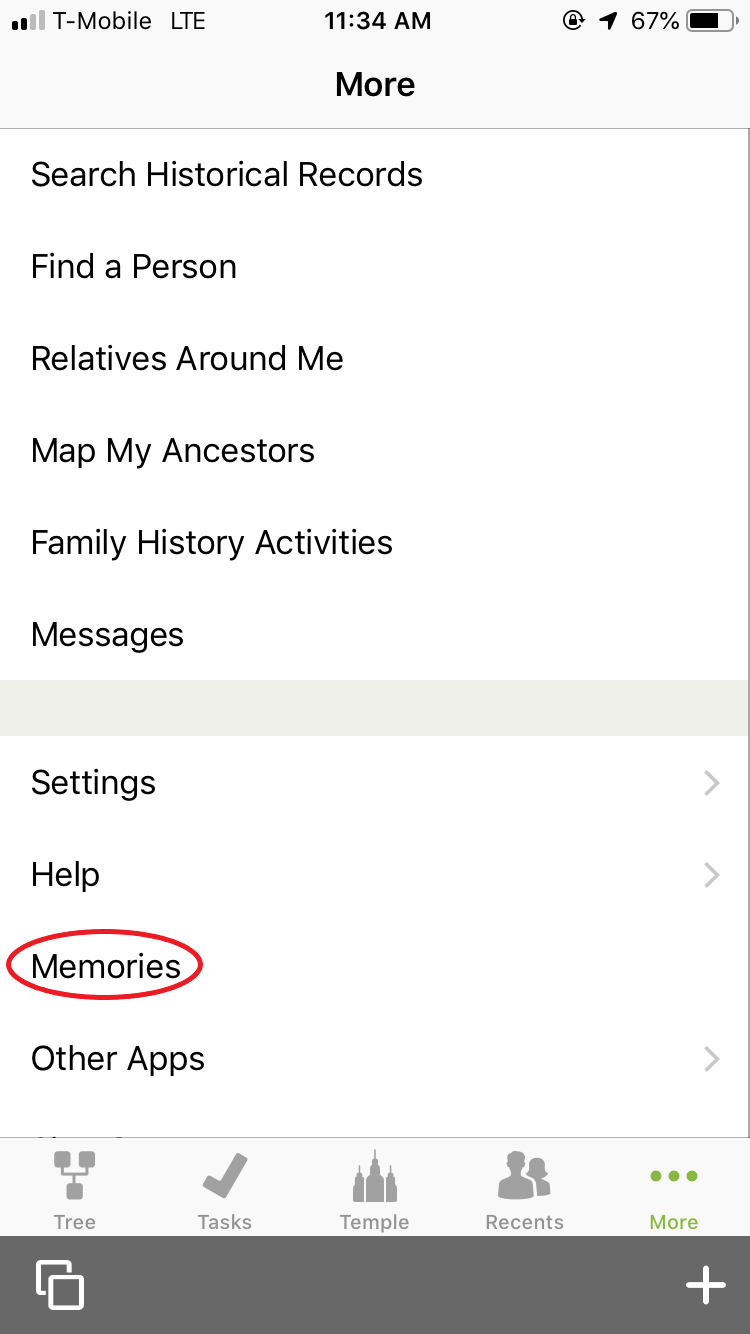
“Memories” takes you the “Memories” app, or prompts you to download the app if you don’t already have it. I will write about Memories in a later post.
“Other Apps” gives suggestions for other apps from The Church of Jesus Christ of Latter-Day Saints that you might enjoy.

I hope you are learning some new things about the capability of the Family Tree app! Watch for part three of this series next week, when I will be discussing the Person Page in-depth. Take some time this week to explore the “More” tab!
[…] found on the Home Screen of the app. Last week I focused on the options found under the More tab. Today, I will be discussing everything you can do from a Person Page in the app. This is […]